Posts
Posts


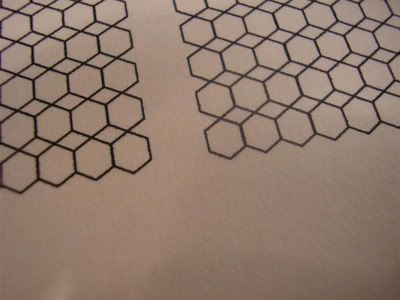
One fateful day, about two years ago, I picked up the recent copy of White Dwarf. In that issue was an article about creating Chaos World tables and terrain. The Tzeentch table used wallpaper to cover the table instead of grass or sand. It looked like a cracked surface with blue warp energy emerging from below. I was sold. Having previously decided to do all four cults (Thousand Sons, World Eaters, Death Guard and Emperor's Children) along with the Black legion, I decided that I would use this wallpaper on all of my Chaos bases.
This has been a blessing and a curse. It's a blessing because it keeps me from having to apply sand and static grass to my bases. It also creates a very effective yet easy look, that stands out from a lot of conventional bases.
It's a curse because it provides a weak joint between the model and the bases (the paper just rips sometimes) and because painting in the highlights on the warp energy take longer than merely doing a fast drybrush on a textured base.
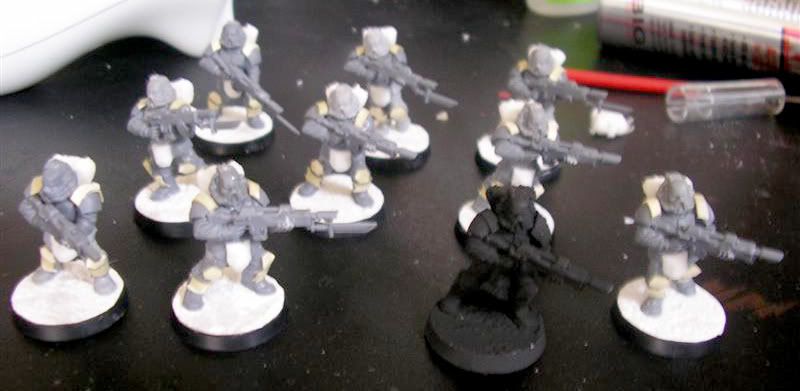
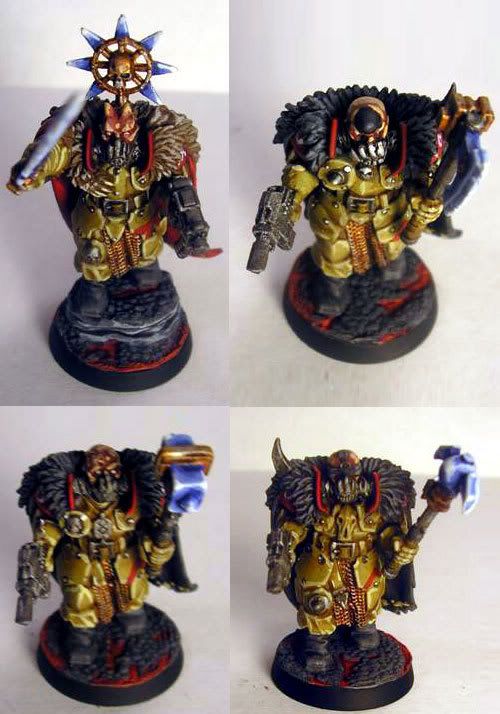
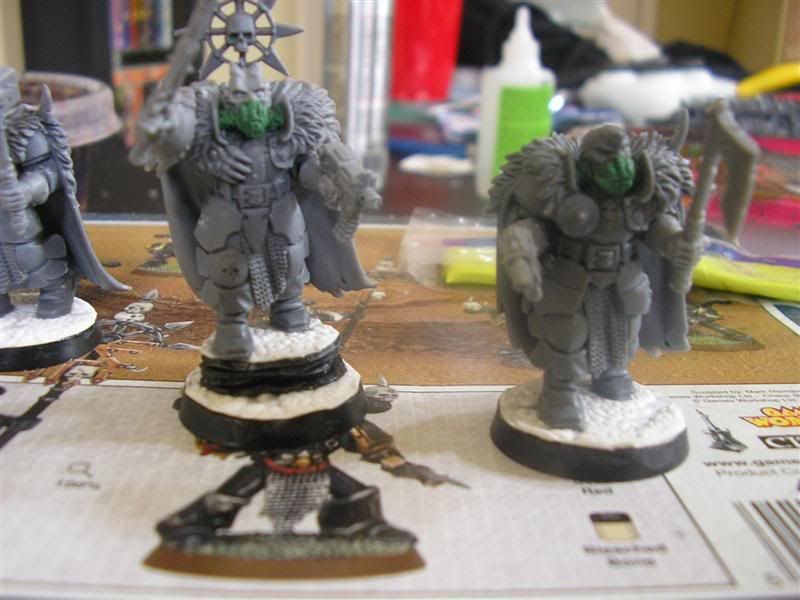
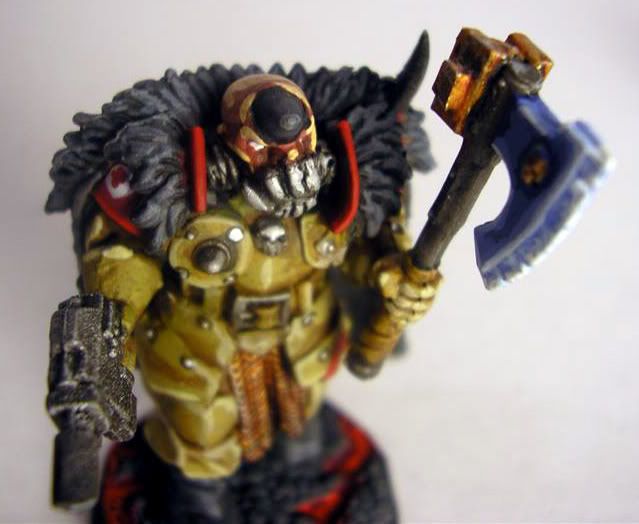
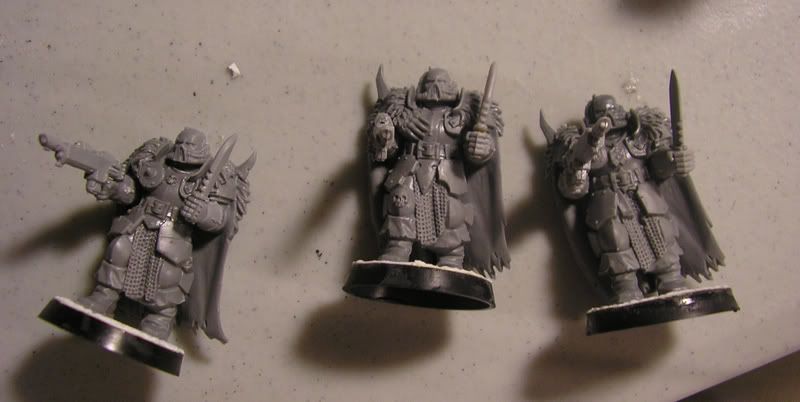
But I made the decision, and overall I'm happy with it. I usually get a lot of compliments on the bases, and always seem to shock people when I tell them that it's just wallpaper. As you can see in the above picture, it works for all the different flavors of chaos. I've also used mixed armys (most notable some EC and BL), and there is enough consistency in the style and the rocky surface that the different colors of warp energy don't seem to clash.
The other day someone I met at Hat's Games wanted to do the bases for his Eldar. I had previously shown him some of the other examples on the blog. He came here for a tutorial on how to do it, and low and behold, there was none. Ironically, it was one of the first tutorials I had planned on doing when I first started I just never got around to it (in fact I mentioned wanting to to the tutorial back on April 9, 2008 in the post about my Death Guard).
So here it is... how to do Chaos bases, RFTL style.
Preparation
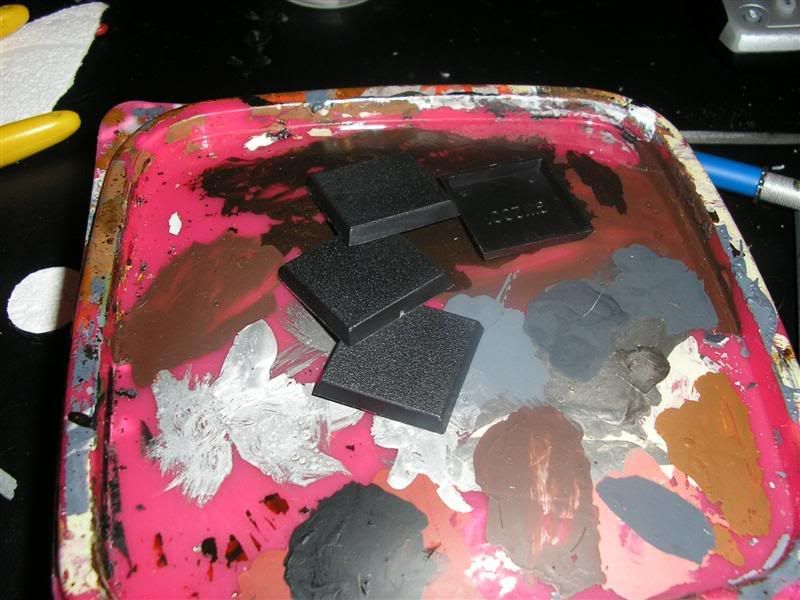
 I usually start by grabbing a bunch of bases at once. I then rip off a large section of the wallpaper. I'm not concerned about conserving it, because I haven't even come close to making a dent in it after some 300+ bases plus a large display board.
Applying Superglue
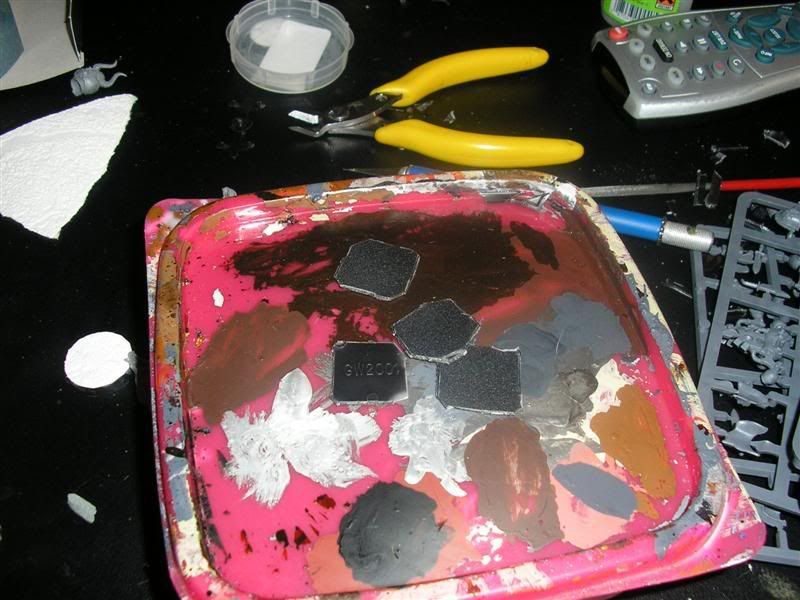
 Kind of hard to tell from this picture, but you just want a bit of superglue in the center of the base. I tried different methods, most notable where I would even spread a very thin layer of glue over the surface of the base. But now I just put it in the center. It takes a little to figure out the right amount. Not the end of the world if you use to much, but don't let it happen too often.
Gluing the Bases to the Wallpaper
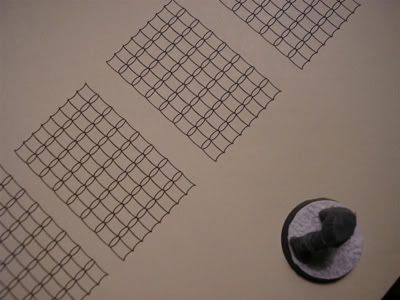
 You then place the wallpaper upside down and press the base down firmly. Check to see how much glue seeps out the sides. If there's a lot then you're applying too much (makes it difficult to cut the paper). Ideally you want to see just a little bit of moisture at the edges. If there's not enough then the edges will stick up, which you have to go back and glue later.
Cutting the Bases

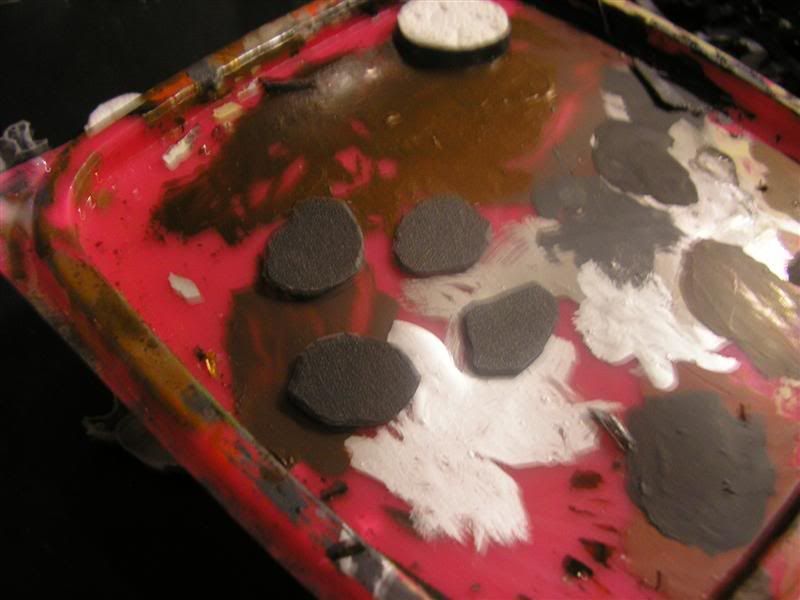
 After they've had 10-15 minutes to dry I start by cutting them in separate, manageable pieces using a scissor. Next I cut them out, trying to get the edge of the wallpaper as flush to the edge of the base as possible. I used to use an exacto, but have been happier with a pair of sharp scissors with a thin blade.
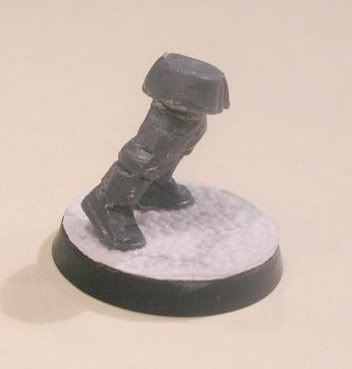
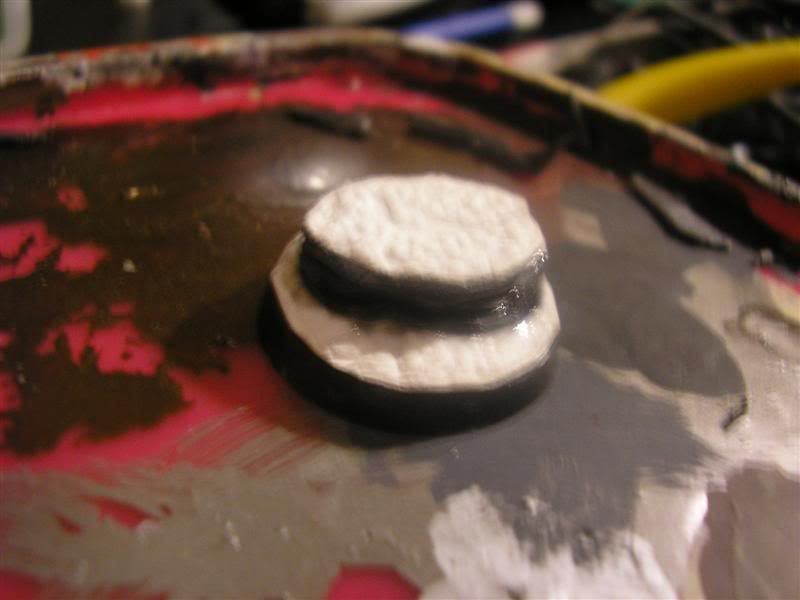
Once they're done, you just glue the model to the paper and prime it up. For metal models with a slot base you have 2 options:
Option 1: Put the model in the slot before the wallpaper. Then cut a piece of wallpaper so that there is a hole for models feet and a center cut so it comes together like to halves. This is a lot of work.
Option 2: Cut off the slot, and pin the model to the base after the wallpaper has been applied. I think this turns out to be easier, especially if you have a dremel.
Painting the Rocks
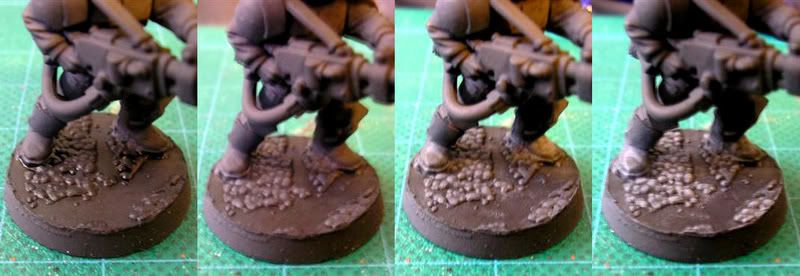 Step 1: Over a black base do a heavy drybrush of German Grey (GG is a vallejo paint, I highly reccommend getting it and the other Vallejo colors I reccommend here - alternatively mix 1:1 - Chaos Black:Codex Grey).
Step 2: Drybrush Dark Grey (Codex Grey)
Step 3: Finally do a light drybrush of Neutral Grey (Fortress Grey)
Painting the Warp Energy
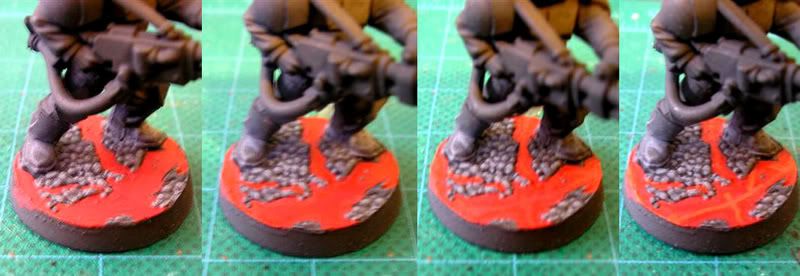 Well this is up to you, depending on what effect you want. For the Sons of Sek, they have red bases because the worship Khorne (blood for the blood god, and whatnot).
The contrast between the colors looks better in person than in these pics, but I think you get the idea. So for Khorne bases I do the following:
Step 1: Mechrite Red
Step 2: Highlight of Blood Red
Step 3: Finer Highlight of 1:1 - Blood Red:Blazing Orange
Step 4: For those bases with a larger area of energy I'll do a final thin line of Blazing Orange
Really you could do just about whatever. The guy I mentioned earlier from Hat's Games, want to do them as water. I never thought of that, great idea. I reccommended that after he sealed the model to use gloss varnish on the water channels. Looking forward to seeing them finished. Maybe in the future I'll have to steal the idea from him, that he stole from me, that I stole from White Dwarf (somehow that reminds me of Krusty the Clown).
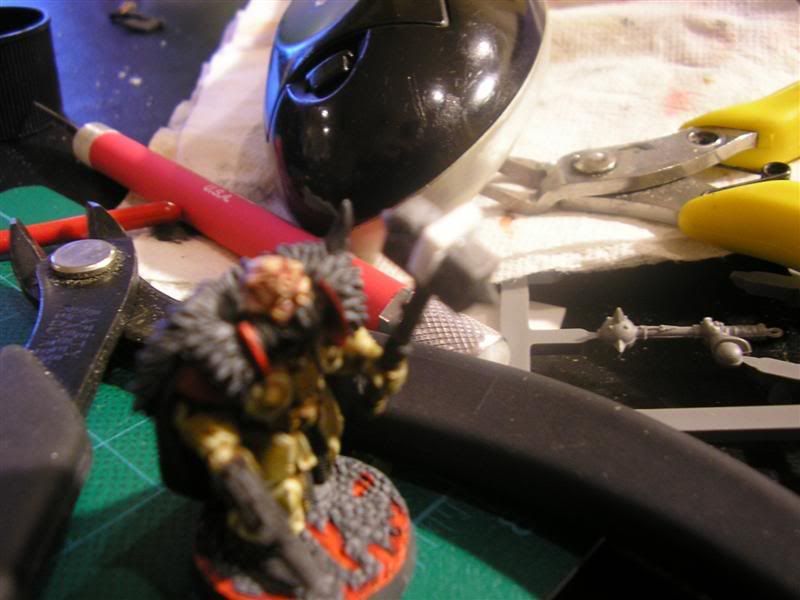
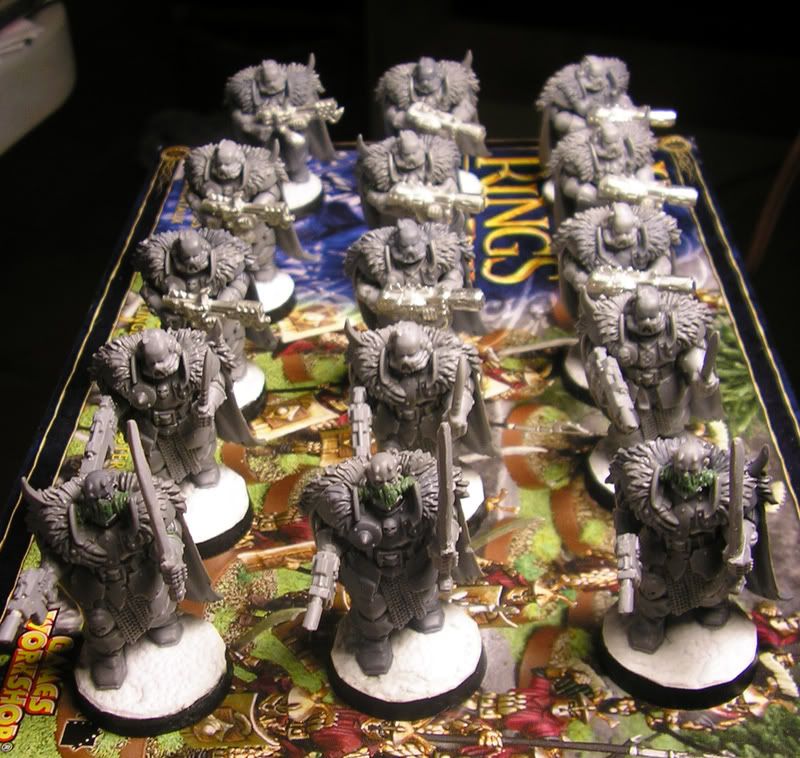
Well, that's it for now. 21 Sons of Sek to go, plus the display board. I'm trying to take pictures as I go along, but its hard when I'm trying to hurry everything.
Read more!